Table of Contents
Table of Contents
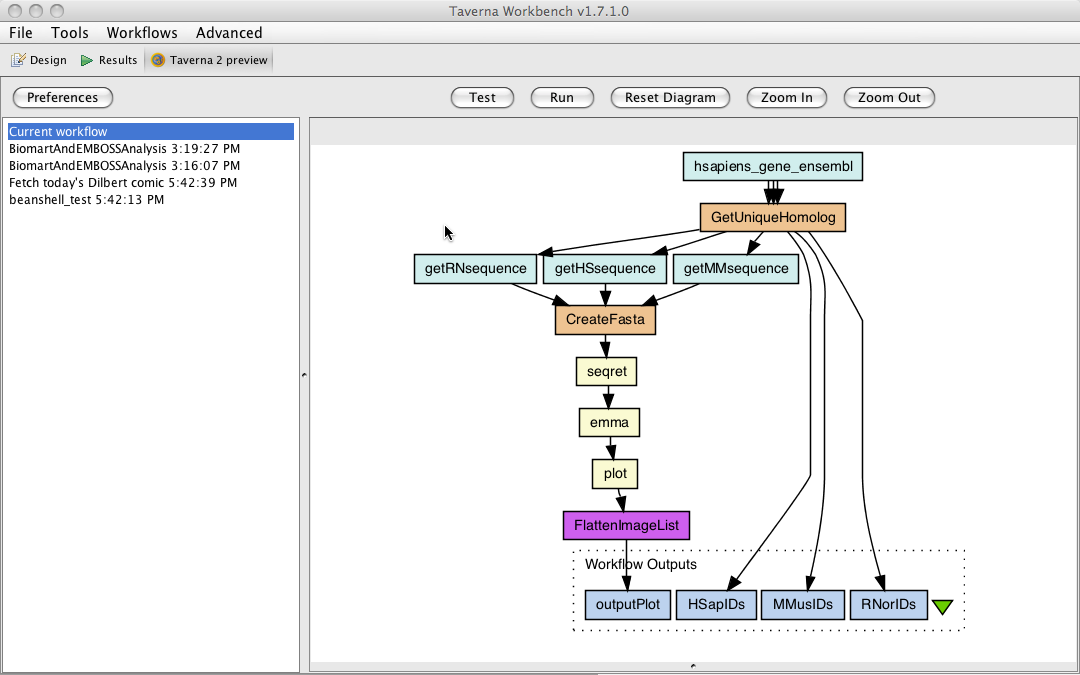
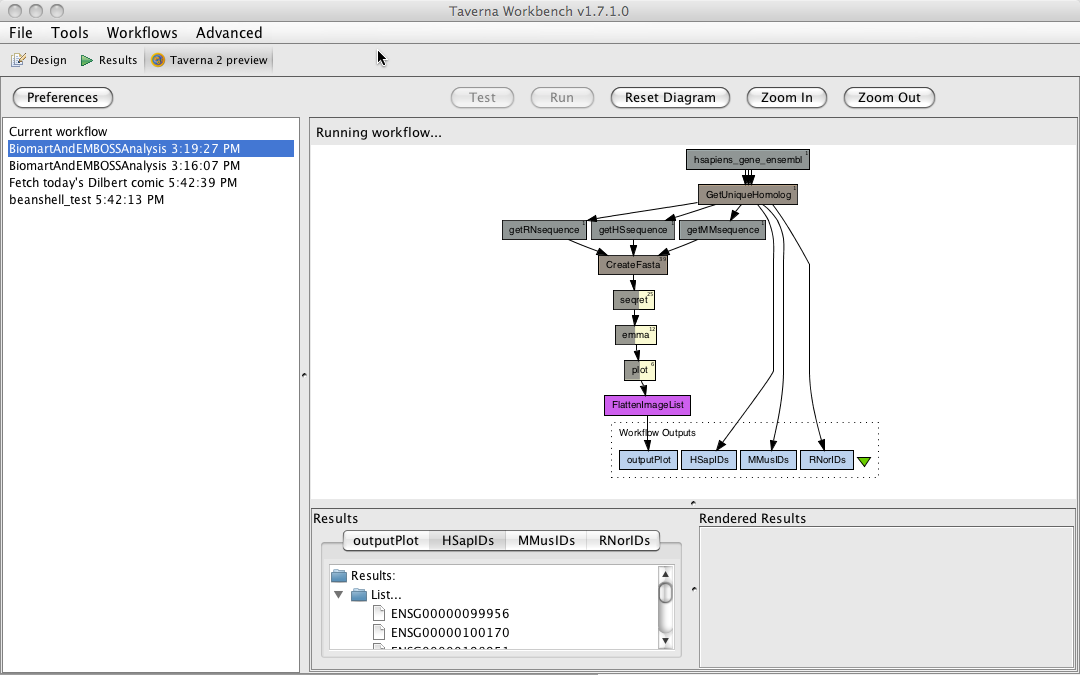
The Taverna 2 preview runs workflows using the new Taverna enactment engine. The preview contains 3 main panels: a list of workflow runs, the workflow diagram and the results (visible after running or testing a workflow). The first workflow in the list is always the workflow that is currently selected in the workbench. There are buttons to Test and Run a workflow as well as set preferences and change the diagram zoom.
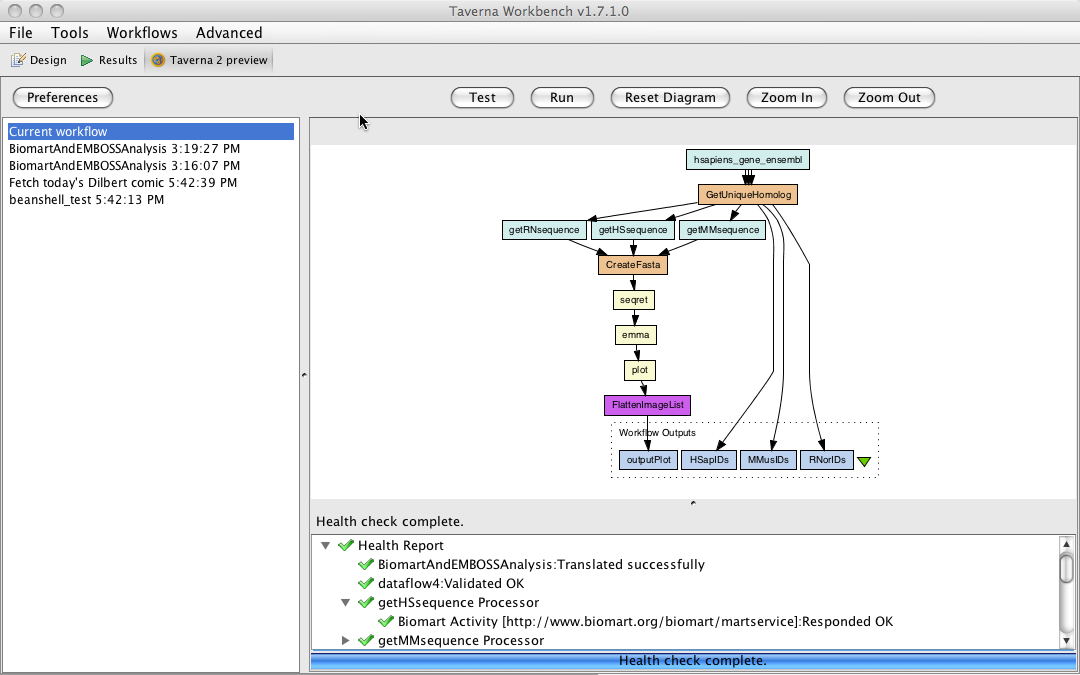
Clicking on the Test button performs a workflow health check. This will check that the workflow can be translated from the old style scufl model to the T2 style and that any web-service endpoints are responding.
Clicking on the Run button executes the workflow. The workflow run is added to the list of workflows and the result panel is opened. During the run the workflow status is monitored and shown on the diagram. In the example below the seqret, emma and plot processors are in progress; the number of complete iterations is shown in the top right of the processor box.
If a processor fails to run the border of the processor box changes colour to red and the number of failed iterations is shown in the bottom right of the box. For example. in the run shown below, append_string and echo have both run 10 iterations. One iteration of append_string generated an error.

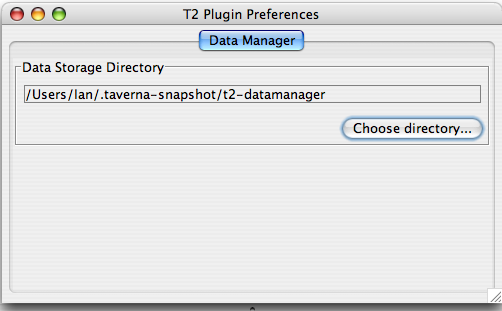
If a workflow requires inputs, clicking the Run button pops up a panel which allows you to enter the inputs for the workflow. Clicking on run will execute the workflow with your inputs and then present them in the bottom right panel. The data manager will have registered any inputs and any results and the serialised versions can be browsed on disk.
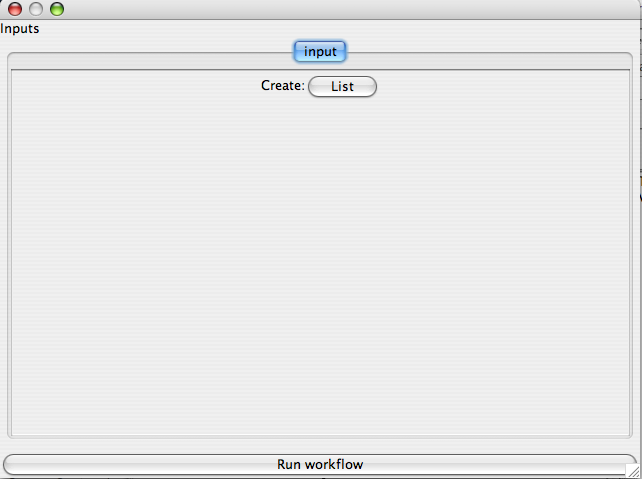
The sample input data below shows a list containing a Data Document (with a File Reference Scheme & a HTTP Reference Scheme), a Literal Blob (>80 characters) and an Integer Literal.

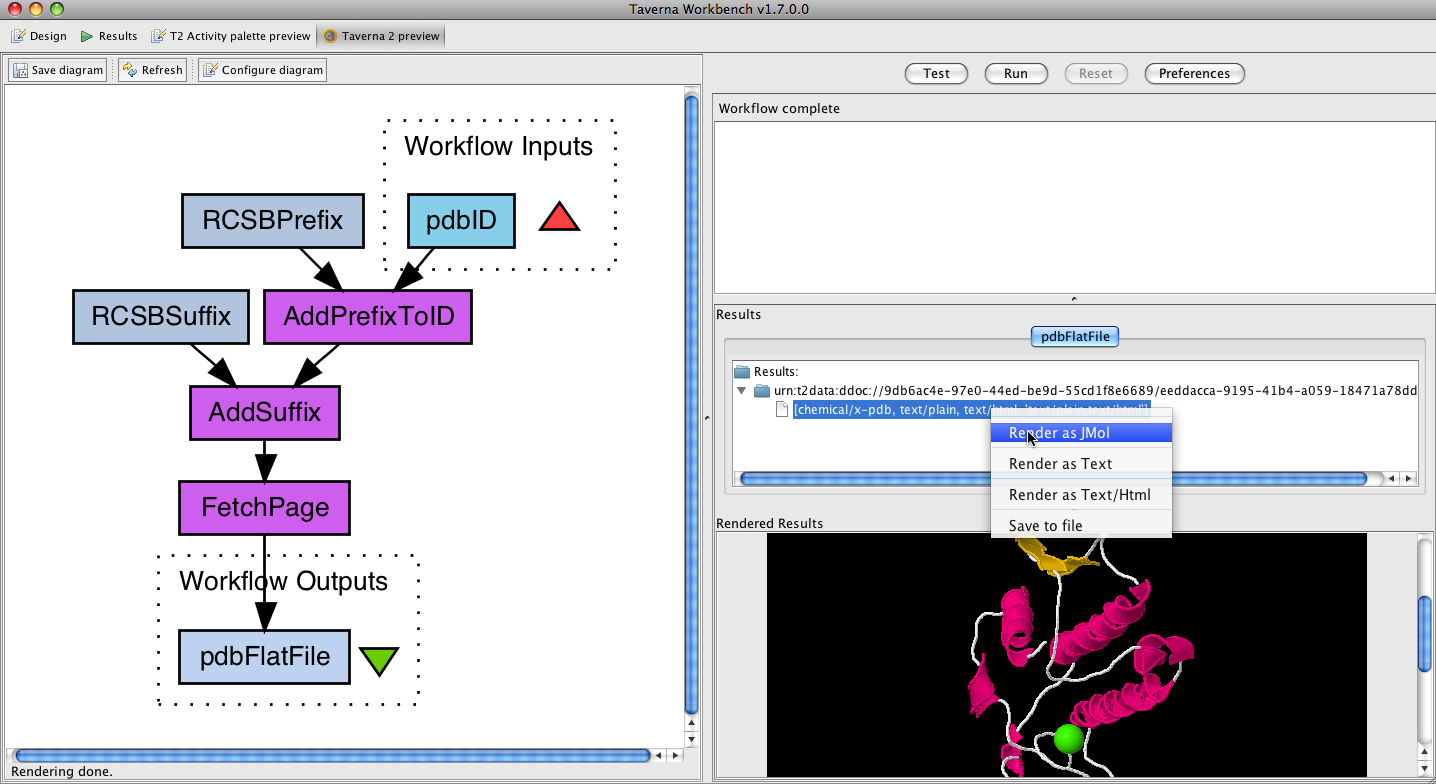
As the workflow runs results are displayed in the Results panel.
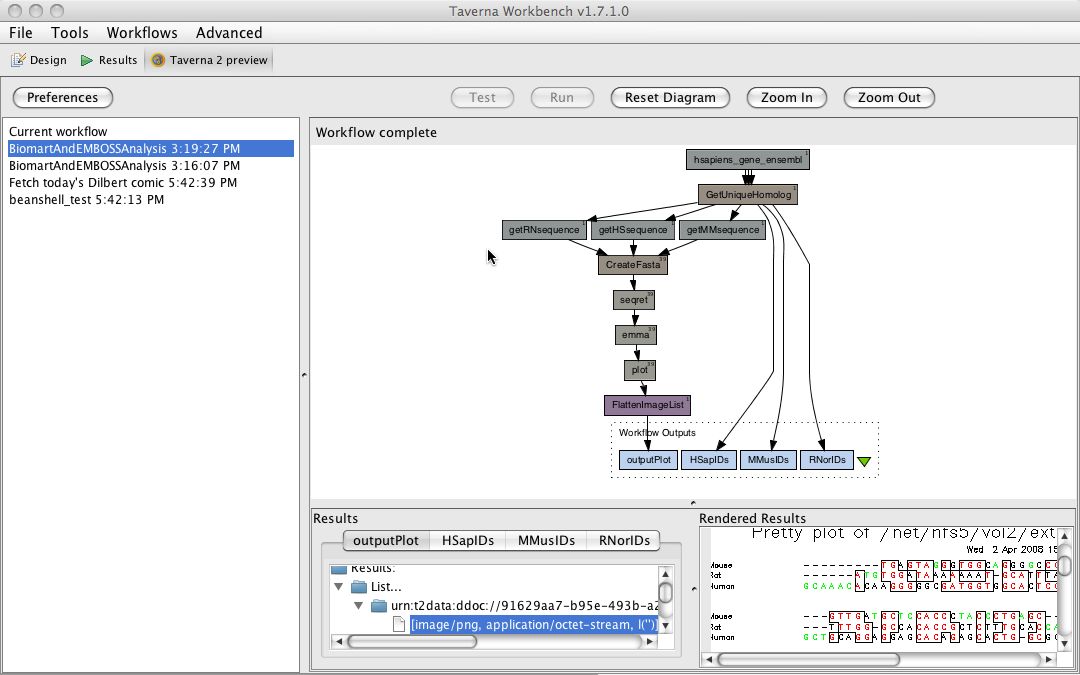
To display the result using a renderer, right click on the mime type of the output in the Results list and select the required renderer. The result will be shown in the Rendered Results section.